As much as I love Microsoft Word, Microsoft Office is not free and that bootleg version you have is one PC reboot away from leaving you stranded right before a deadline. Therefore, Google Docs is a lifesaver and today I want to share some features in Google Docs that will make you feel good about being a cheapskate.
While in your browser, open a new tab by clicking CTRL + T, then type docs.new in the address bar and press ENTER. A new google document is created. The Google document is automatically added to your Google Drive if you’re logged into it on your PC. If you’re on a public computer, you will be prompted to sign in.
“What’s your favourite font?” should be a first date question. Don’t you want to avoid people who type their CVs in comic sans? And how can you expect spontaneity from a Times New Roman diehard? You can change your default font in Google Docs by typing any sentence, changing it to your desired font, selecting the sentence, going up to
Format ▶︎ Paragraph styles ▶︎ Normal text ▶︎ Update ‘Normal text’ to match.
All the text in the document will appear in your desired font. To make your desired font your default font going forward, go back to Format ▶︎ Paragraph styles ▶︎ Options ▶︎ Save as my default styles.
Changing the font and making it a default
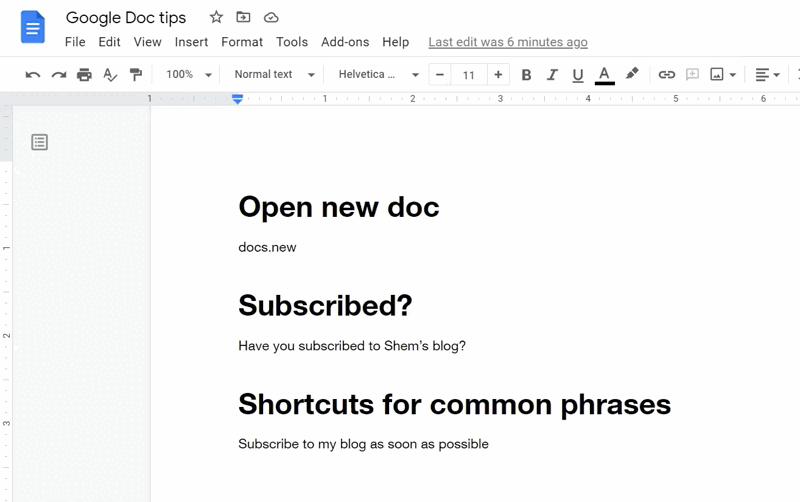
Using headings in your documents is essential. Besides making your document look neat, headings also make it easy for you to navigate to various sections of the document as your document gets larger. To add a heading, select the text you want and go up to the toolbar. Left of the font section, you will see a dropdown with “Normal text”. Click the dropdown arrow and select an appropriate heading.
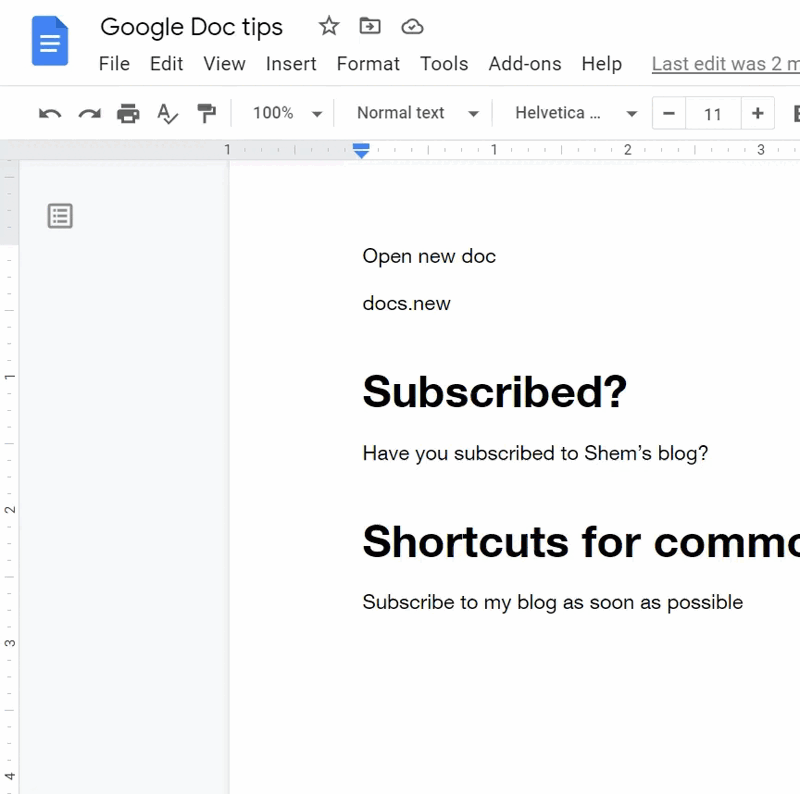
Adding headings creates a document outline visible in the left side panel of the document window. Using the outline, we can navigate to the different sections by clicking the corresponding headings.
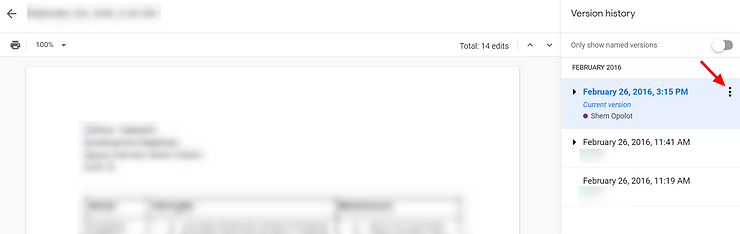
Collaboration on documents is arguably Google Docs’ best selling point. However, collaboration can be a problem when some wiseacre ruins your perfect draft or deletes chunks of text. Not to worry though, with version control in Google Docs you can track any changes within the document and revert to older versions. This way you can know who is trying to ruin your career. You can go a step further and name the version(s) of the document so that you can identify them faster and revert to them whenever. To name the current version, go to File ▶︎ Version History ▶︎ Name current version. This will allow you to name your most recent unadulterated version.
As the collaboration with other individuals occurs, you can view all the versions and name them accordingly. To do this, go back to Version History ▶︎ See version history. This will show all other versions of the document, and by clicking the 3 dots to the right of each version, you can rename them accordingly.
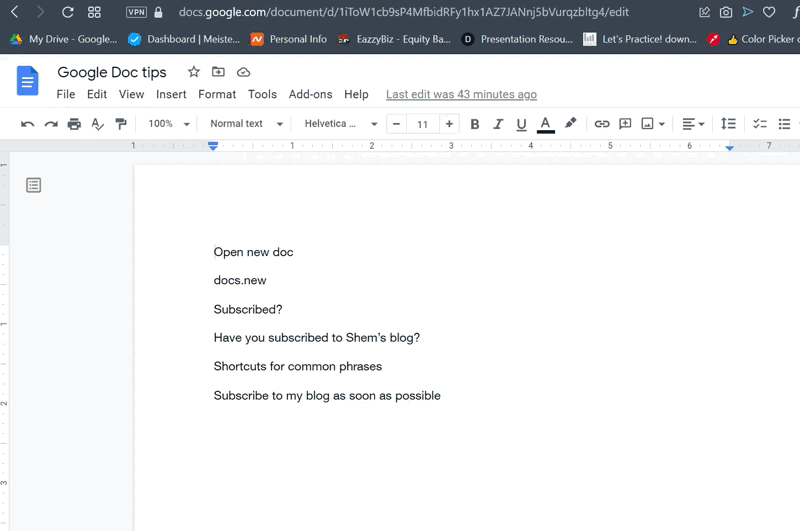
On your Android or iPhone, you can use keyboard text replacement, to create shortcuts for commonly used phrases or links. For example, don’t tell my wife but every time she texts me those 3 little words, I type “ily” which is automatically replaced by “I love you ♥”. Don’t judge me; you’re just jealous I did it first. You can do the same thing in Google Docs for common—personal or company—phrases/links. To do this, go to Tools ▶︎ Preferences ▶︎ Substitutions and the rest is self-explanatory. While you’re there, you’ll find other useful defaults from Google.
Never been one for subtlety
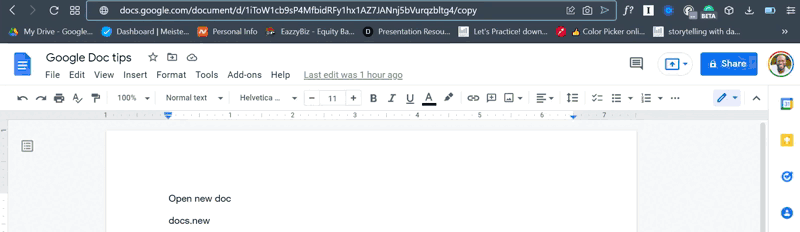
You’ve made a beautiful template of a document and you want to share it with the world but you don’t want anyone to mess up the template. You can share a link that forces the recipient to create a copy of your template. While in your template document, click the URL/link in your browser address bar and change the word “edit” to “copy”. That’s the link you should share.
The recipient is asked if they want to make a copy
Similar to what we did with the template above, you can share a link that causes the recipient to download your document as a pdf. Repeat the same method as above, but replace “copy” with “export?format=pdf”.
You can create a doc/sheet/slide in Google Workspace and turn it into a webpage visible to the public. For example, if you want to create a public countdown to your birthday in Google Sheets for some weird reason, you can create it, publish it like this, then share the URL in a public forum for all to ignore. This function might make a lot more sense if you create some sort of dashboard/tally in Google Sheets and you want it visible to the public in real-time as updates happen. To publish your doc/slide to the web, while in the file, go to File ▶︎ Publish to the web and follow the prompts. In Google Sheets, it is File ▶︎ Share ▶︎ Publish to the web.
The average individual has everything they need within Google Docs to create professional and effective documents. Therefore, learning a few tricks to aid your productivity won’t hurt. Go forth and brag and work.
Have a blessed week!