When we talked about email etiquette, we agreed to use bcc for bulk emails. However, what if you have a fundraiser and want to email your contacts for contributions? Or, you run a small business and want to email your contacts about a new product or sale? Christmas is next week and you’re about to send that mass text to all your contacts? Such emails have a higher response rate when they are personalized. Today, I’ll show you how to send personalized bulk emails for free. However, please do not abuse this hack and message multiple lovers. January is almost here and I don’t think you have the facilities for that, big man.
The technical term for sending personalized bulk emails from some list or database is mail merge. Save this for a lull in conversation at the next party. You won’t be invited again, but at least you know things. In order to follow along, you will need a Google account, a web browser and an internet connection.
1. Follow this link to this spreadsheet created by Google developers and create a copy of the sheet for your personal use. Once you click Make a copy, the document below opens:
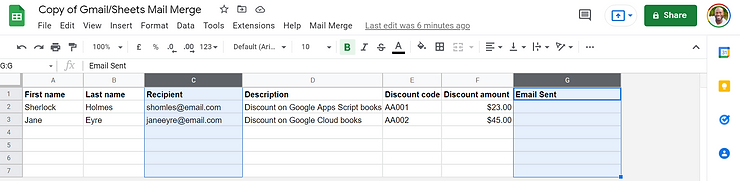
Recipient and Email Sent columns should not be deleted
2. Update the Recipient column with the emails of the contacts you want to message. The Email Sent column will update automatically with timestamps of when the emails were sent. DO NOT type anything in this column.
3. If the current format of the spreadsheet is not satisfactory, you can add, edit or delete any columns but DO NOT delete the Recipient and Email Sent columns. If you want to change the names of the Recipient and Email Sent columns, you must change the code on the back end of the spreadsheet that produces our mail merge magic: On the Toolbar in the Google Sheet, Extensions ▶︎ Apps Script.
4. Update the other columns with the relevant information of your contacts. Below, I edited the default sheet to illustrate my point. Think of each row in the spreadsheet as an individual email to be sent out.

Always start with your email as a test run
In order for the mail merge to work, we need an email draft within Gmail. To create the email draft:
Here is my draft, rife with wishful thinking and sage wisdom:
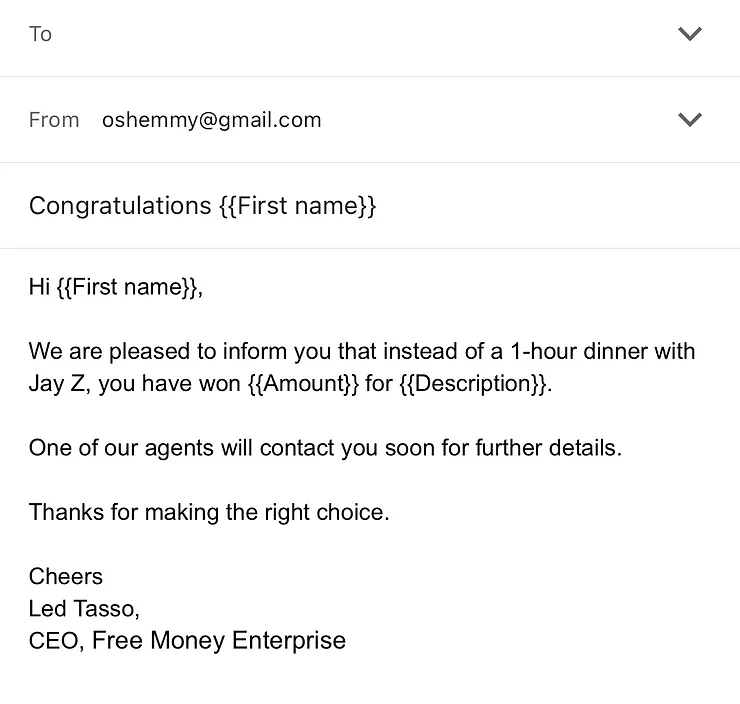
Wherever you see curly brackets, the mail merge will replace them with corresponding entries in the individual rows
To send your email(s), do the following:
Yes to everything!
3. Once the script is authorized, click Mail Merge ▶︎ Send Emails again.
4. Paste the email template’s subject line that we copied earlier and click Ok.
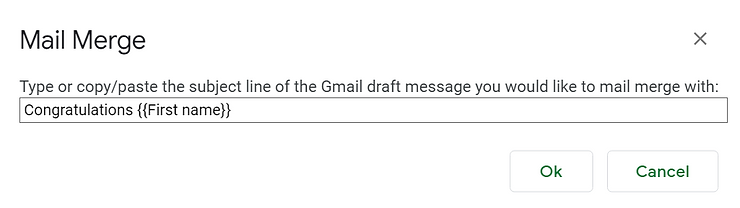
My pasted subject line looks like this. Notice my double curry brackets to capture the first name in the sheet
After clicking Ok, the script will run and the email(s) will be sent. I recommend you always test the mail merge by sending the first email to yourself. This will ensure you don’t include any typos and other errors. My test email is shown below. I am ready to bulk email this, though reading it back now, it reads like an email scam:
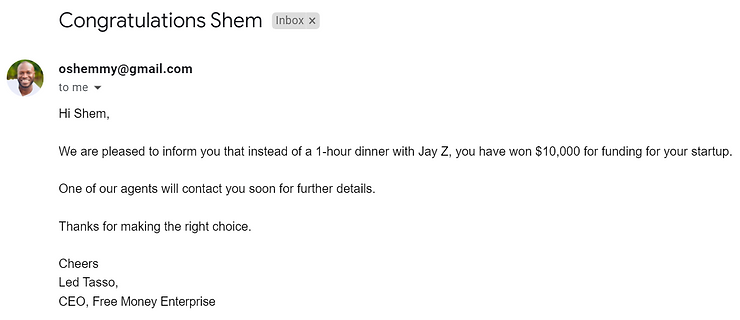
Texts surrounded by curly brackets in the draft have been replaced by the corresponding entries in the spreadsheet
Mail merge allows you to send at most 100 personalized bulk emails a day without typing each email manually or struggling with cc or bcc. If this isn’t a Christmas miracle, I don’t know what is.
Have a blessed week, be kind to people and Merry Christmas!